

DigiLocker, a cloud-based platform, allows individuals to store, share and verify documents and certificates. Individuals will have to set up their accounts and upload documents to the vault. One can also add a nominee to their account. The platform also lets users delete documents at any time.
In addition, the platform lets users store and access health records linked to ABHA (Ayushman Bharat Health Account) under the ABDM scheme.
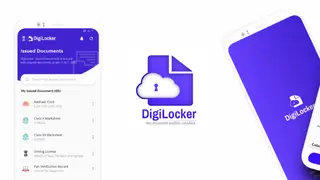
DigiLocker classifies documents as issued and uploaded. Issued documents are e-documents issued by government agencies in electronic format from the original data source, whereas uploaded documents are those directly uploaded by the DigiLocker user on the platform. Meanwhile, individuals can also upload documents directly onto DigiLocker.
Know how to upload issued documents to DigiLocker
Step 1: Log in to your DigiLocker account.

Step 2: Click on the ‘issued documents’ tab/ section.

Step 3: Enter the type of government-issued document you want to add. Individuals could also search for education and insurance-related documents.
Step 4: After selecting the service, you need to enter the details of the document and request the issuer for the document.
It will then be uploaded to your DigiLocker account.
Also read: Know how to link PAN, Aadhaar to DigiLocker account
Know how to upload documents to DigiLocker
Step 1: Open the DigiLocker app.
Step 2: Head to the home screen.
Step 3: Spot the DigiLocker drive and click on the same.

Step 4: Now, click to upload files.
Step 5: You can choose the document and confirm the upload.
Also read: Know how to add a nominee to a DigiLocker account
![]() Comments
Comments


Comments
Comments have to be in English, and in full sentences. They cannot be abusive or personal. Please abide by our community guidelines for posting your comments.
We have migrated to a new commenting platform. If you are already a registered user of TheHindu Businessline and logged in, you may continue to engage with our articles. If you do not have an account please register and login to post comments. Users can access their older comments by logging into their accounts on Vuukle.